7/16/11

Community Supported Agriculture and Stuff

Friends. Romans. Countrymen. Anyone who's actually reading this blog. I've done you a disservice by disappearing for quite such a long time. Not to worry (if you were)! I've been taking photos of all the crazy food that I've been making, so there's a definite backlog of recipes and food items I have here to work through.

A lot has happened since last we met. But the most important thing of all (culinarily-speaking, of course) has been absolutely REVOLUTIONARY.

Friends, I've signed up for a CSA.


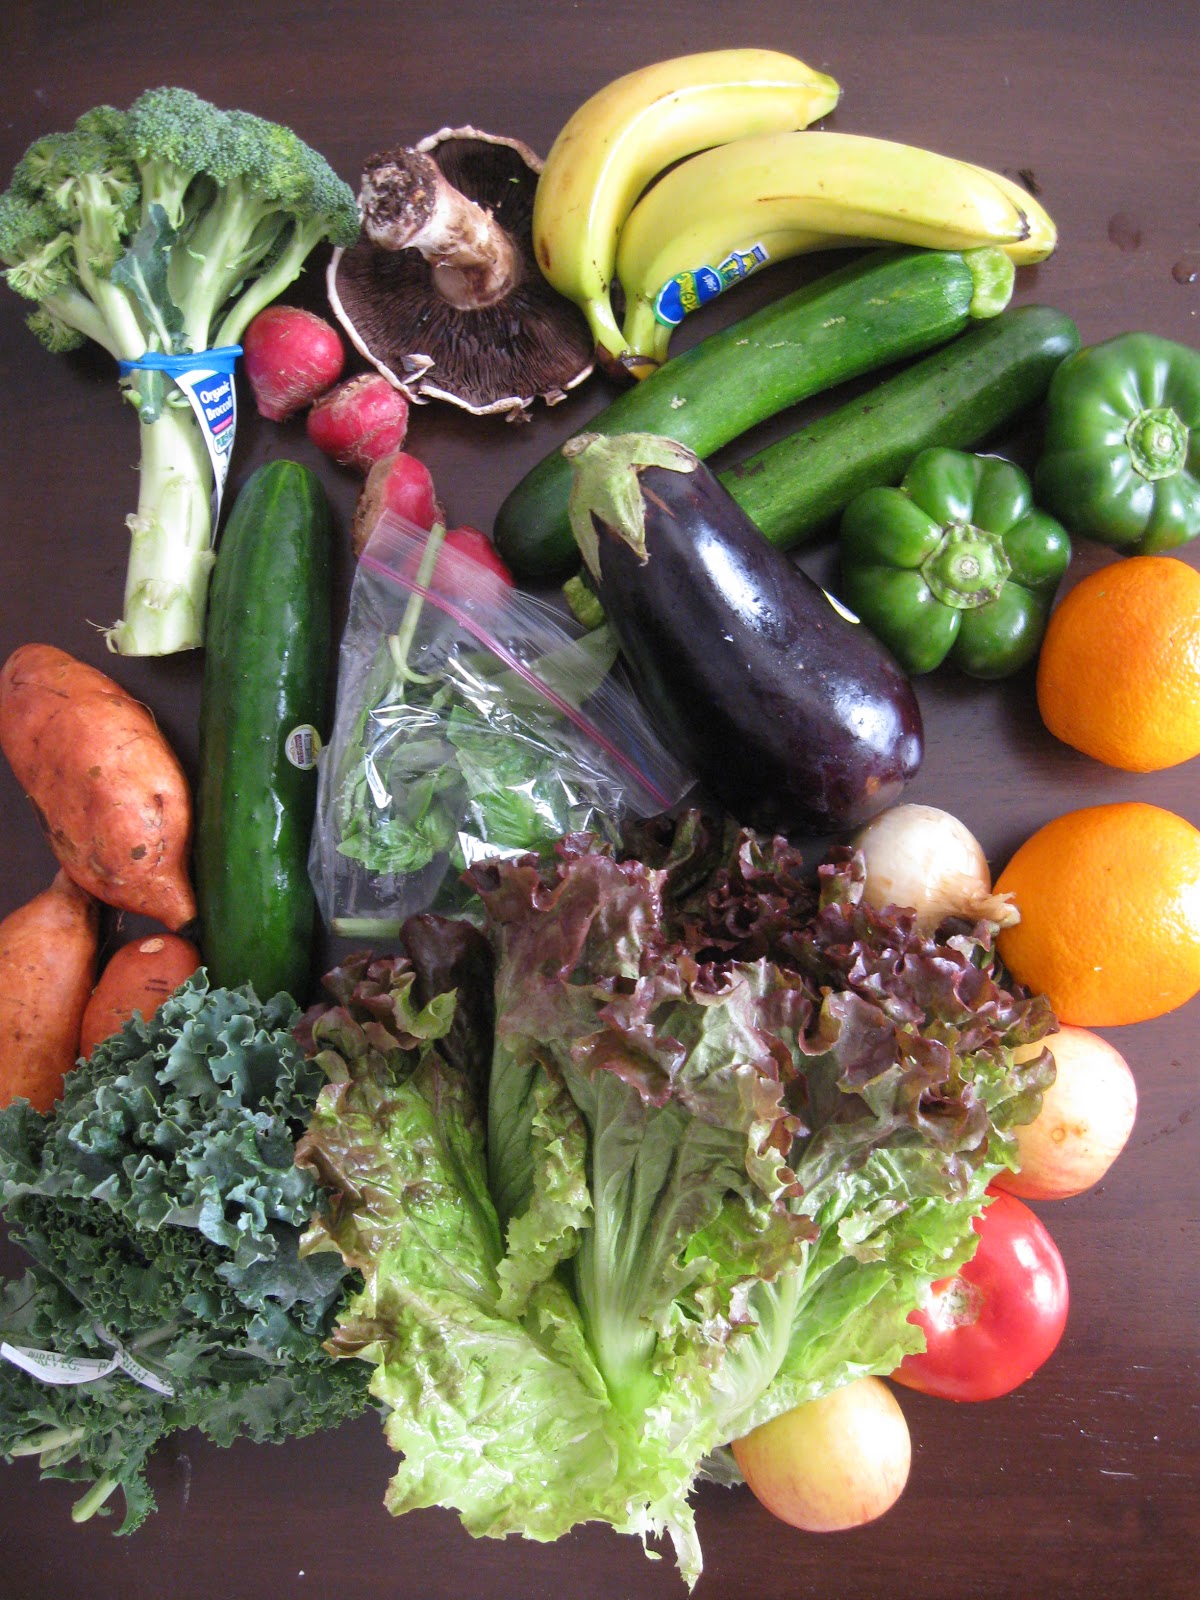
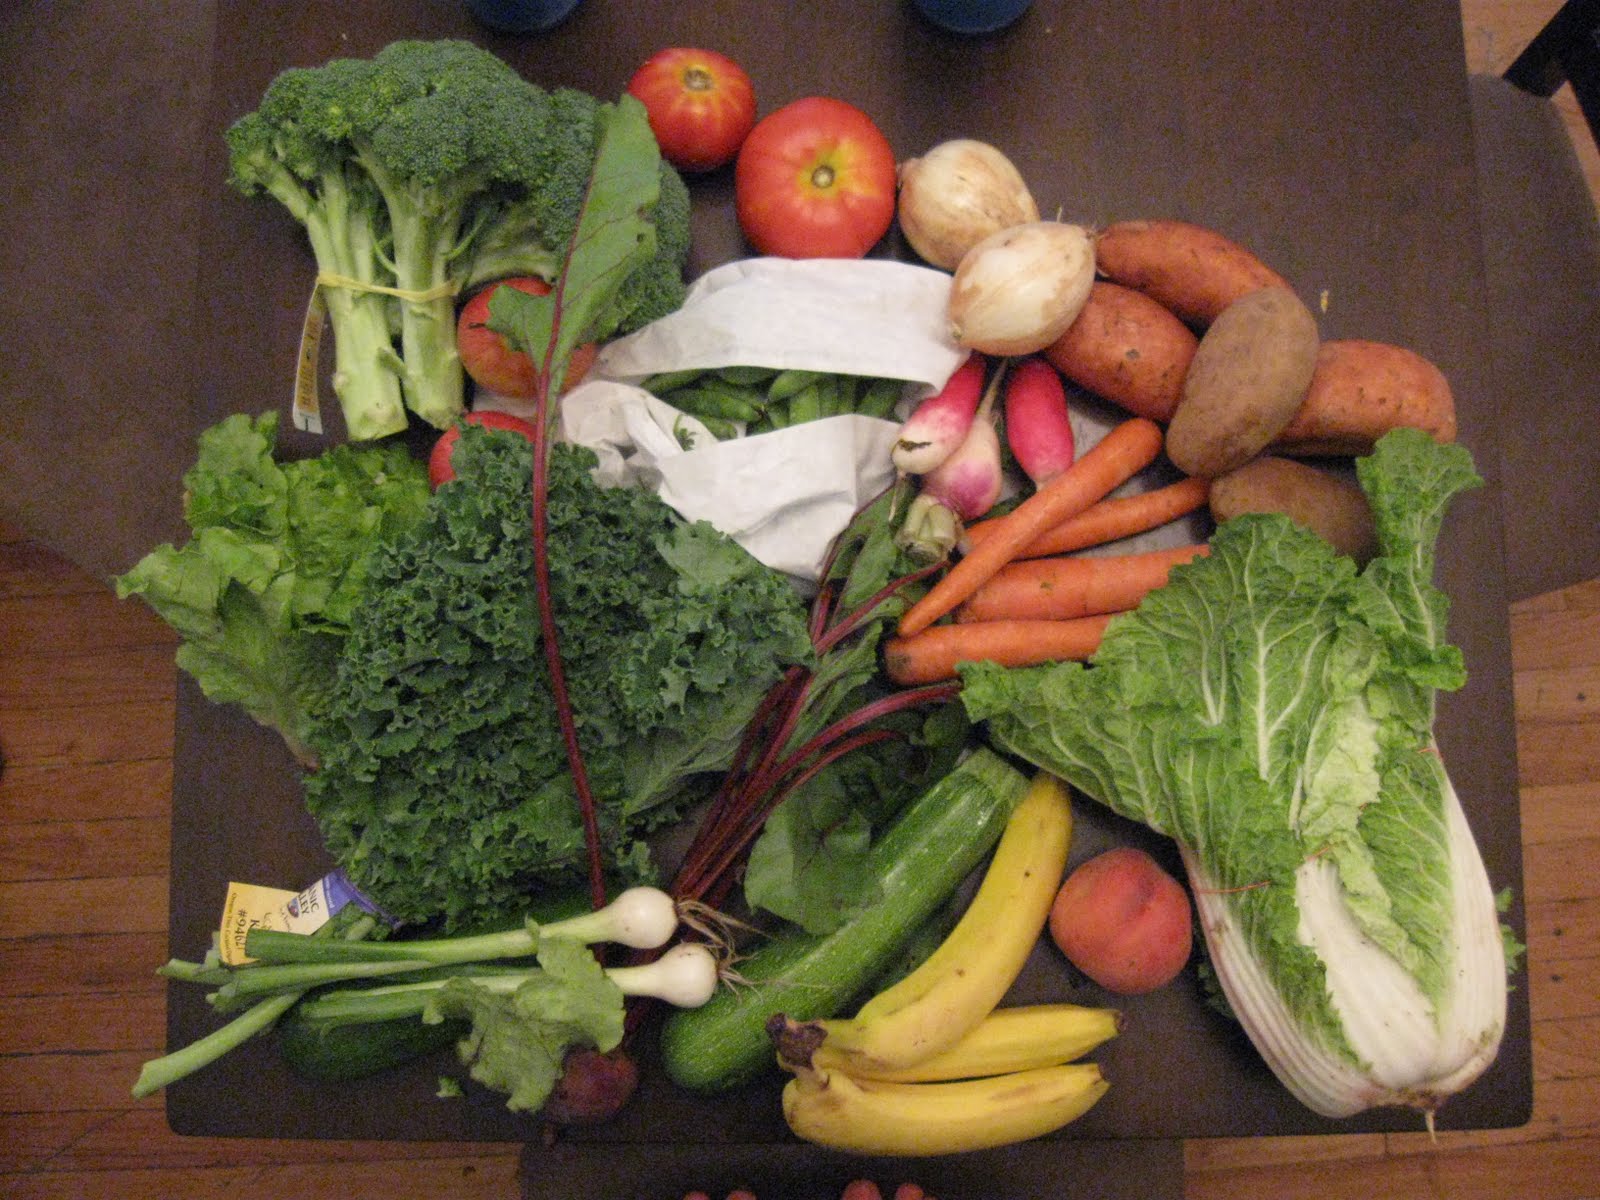
CSA, if you haven't heard of it yet, is a Community Supported Agriculture program, where farmers put their food together into shares that you pick up and take home with you. It's like if the Bacon-of-the-Month Club were the Giant-Produce-Box-of-the-Week Club. And I do mean giant. I subscribed for the half-share, since it's just me and my itsy-bitsy kitchen, and each picture you see here is one week's half-share.

Because it's just me, I've had to get sorta creative to make sure that I use all the vegetables (and fruit! Sometimes I get fruit!) before they go bad on me. Usually this means dinner parties- I like cooking for other people a lot. But sometimes there's just loads of leftovers. Lately, with the summer fruit flies slipping their way in through my ancient screen windows, I've had to keep everything in the fridge, with the exception of the bananas, which get nasty and black if you put them in the fridge. Those guys hang out in my freezer. They make awesome smoothies, since you don't need ice! (Another post on that later.)

I've signed up with Farmer Tom's CSA here in Chicago (and if you're out here, you should totally check it out). As much as they can, they provide local and organic vegetables, but sometimes it's one or the other. Which has been pretty important to me lately, after watching movies like Food Inc. and reading An Omnivore's Dilemma. Switching to a diet of mostly plants (and taking a care to focus on organic and local, since I'm trying to help support farmers that practice sustainable farming as well as doing the best for my stomach- the less pesticides the better, amigos) has done a lot for my health, including a bit of healthy weight-loss.

Sometimes the best thing about the CSA has been getting things that I have absolutely no idea what to do with. Surprising vegetables (like fennel, which I had never had outside of a restaurant before) that meant some research (thank you, Tastespotting!) and some experimentation- some of which didn't work out quite like I wanted it to...

All in all, this has been a great program, and definitely it's meant that I've been getting a lot more of those recommended servings of vegetables and fruits. Plus they're lovely photo ops, as you can see below:


Anybody out there have any experiences with a CSA they'd like to share? It's been marvelous for me so far- hope it's going well for all y'all too!

10/10/10

Apple Cider Ice Cream

It's officially Autumn here, yet in Chicago the weather's still really warm. Walking home from the El smells like Fall- there's that smell of wood burning fireplaces and leaves changing colors- but it's definitely too warm to break out the seasonal sweaters. This is supposed to be the time of year where I'd break out the flour and start making bread, keeping the apartment warm with the oven. It's apple cider season, pumpkin pie season, time to bake! But it's still so hot that turning on the oven seems like a really bad idea. But dangit, I want my apple cider!

So here's my solution, friends. Something that will taste like Autumn, but feel like Summer:
Caramel(ish) Apple Cider Ice Cream
It's caramel(ish) because it's made with dulce de leche, which not only is easier to make than caramel (at least for me), it also keeps its consistency really well, even when frozen.

The best part of this recipe for people with small kitchens (like me)? No ice-cream maker needed! (Although it'll save you a lot of arm effort if you happen to have a hand mixer.)

Caramel(ish) Apple Cider Ice Cream
(Adapted from Nigella Lawson's No Churn Pomegranate Ice Cream)
Serves 8

Ingredients You'll Need:

1 can Sweetened Condensed Milk
3/4cups Apple Cider
2 cups Heavy Cream (keep cold)
1 1/2 cups powdered sugar
A bit of cinnamon
About a tsp of vanilla extract

Tools You'll Need:

A stock pot
A cold mixing bowl (stick it in the freezer for a little while- it helps)
A whisk or (preferably) a hand-mixer (stick the beaters in the freezer too- also very helpful)
A large, shallow tupperware-ish container with a good lid
A freezer

How To:

-Make the dulce de leche:
  • peel the label off of the can of condensed milk, and put it in the stock pot. Add enough water to the pot to more than cover the can, and then bring to a boil. You'll want to boil it for anywhere from 2-3hours, checking every now and then to make sure it's still covered with water- which is important if you don't want it to explode. The longer you let it boil, the more solid the dulce de leche will be. I let mine go for almost three hours, and it was about a pudding consistency, and a rich brown color.
  • Turn off the water and carefully take out the can (with tongs- definitely don't want to touch that can with your hands!)
  • Allow to cool while you do the following:
-In your cold mixing bowl, put the apple cider, the vanilla and the cinnamon. Add the powdered sugar and stir to dissolve.
- Add the cream to the bowl and start whisking/beating until it forms soft peaks. It'll be a tannish color.
- Pour the ice-cream batter you've made into your shallow tupperware.
-By this time the can should have cooled down a bit. Carefully use a can opener and open the can. Congratulations, you've made yourself the most delicious substance ever. But it's probably still a little hot. You'll want to carefully spoon this out into a bowl, and give it a quick stir with a fork to loosen it up and cool it down a little.
- Using the fork, generously drizzle the dulce de leche on top of the ice cream batter. Give it a gentle stir so that it's not all on top, but not too much stirring or it'll all settle at the bottom. Add as much as you like. (I like a lot. It's soooo good)
-Seal it up and shove it in the freezer, and in 2 1/2 hours or so, you will have a little bowl of heaven.


Hot/Cold Weather Food!

2/3/10

This Here's Soup Weather

I don't know about where you're from, but here in the Windy City it's cold and wet. And windy. All kinds of general unpleasant-ness. Bundle up all you like, the cold and wet will still find its way right on through your layers to your bones. Really the only way to combat this kind of weather is soup. But I’m not too much of a soup fan, really. Very select soups please my picky palate (I’m such a snob). But when I saw this on Tastespotting, I was in love.
Too bad I don’t have a crock-pot. Or space for a crock-pot.


Or money for a crock-pot...

The solution, in these cases where I don’t have a particular tool or ingredient, is usually to improvise.

I do have an immersion blender.

I went to roasted vegetables.
They’re so easy- preheat your oven to 450, toss some washed and cut veggies with olive oil, salt and pepper, then chuck them (gently) in the oven until they’re browned and soft, which, depending on the veggie, could be anywhere from 15-40 minutes. Smaller pieces roast faster, generally. My personal favorite roasted veggies are carrots, Yukon Gold potatoes, and the all-time favorite root veggie, sweet potatoes.
So since roasting generally makes everything better- even brussels sprouts, honest!- I decided that I’d make a roasted root vegetable soup. I’m not a licensed soup-maker (if such a thing exists) so this is me being an Inventive Chef.
It came out pretty well, but maybe a bit too sweet. The recipe below is one I made up, and then adjusted- we like a lot of salt. It’s a little silly.


Root Vegetable Soup
Serves 3-6 people (depending on bowl size)


Food You’ll Need:

2 sweet potatoes or yams, washed and chopped (but not necessarily peeled)
2 Yukon Gold potatoes, washed and chopped (but ditto about the peeling)
3-4 large carrots, washed and chopped (do people peel carrots?)
Extra Virgin Olive Oil, to coat the veggies
1 cup (more or less) chicken stock
2-3 cups milk or cream
Herbs de Provence (which in my case is thyme, rosemary, savory, marjoram, basil and sage. You can usually by it already mixed together)
Sea Salt and Fresh Ground Pepper, to taste
Bacon, chives, cheddar, to garnish (optional)

Tools You’ll Need:

An oven (if you don’t have that, go to a restaurant and stop reading this)
A roasting pan or cast-iron skillet
A stock pot
A blender, immersion or otherwise
Various spoons and utensils


How To:

-Pre-heat your oven to 450F
-Toss the veggies with olive oil until they’re lightly coated, and throw them into a roasting pan or a cast-iron skillet, and pop them in the oven until browned and tender, around 40 minutes
-Just before the veggies are done, in your stock pot add chicken stock and milk or cream. Start to simmer gently
- Remove the veggies from the oven, and with a slotted spoon or spatula, put the veg gently into the pot. Add Herbs de Provence and salt and pepper, bring to a low boil, stirring often.
-Reduce heat and let simmer until the milk/chicken stock starts to pick up the color of the vegetables and the veggies sort of fall apart with gentle prodding. Shouldn’t take too long, especially if they’ve been roasted thoroughly. Remove from heat.
-Use your immersion blender (or put the soup mixer gently into your blender) and blend until smooth. Taste it! Add more salt or pepper, to taste (I suppose chili powder or hot sauce might be tasty too, but I have a bland, German palate and hot sauce is not my scene)
-Serve with crumbled bacon, chopped chives and cheddar on top

Warm food, warm belly!
Happy munching